Needle Broken? Here’s How to Replace Your Sewing Machine Needle, Step by Step Guide

Replacing your sewing machine needle regularly is essential to keep your stitches neat and prevent damage to your fabric or machine. A broken or dull needle can cause skipped stitches, uneven seams, or even fabric snags. The good news is that replacing a needle is quick and easy if you follow the right steps.
Here’s a simple guide to help you do it safely and correctly.
What You Will Need
-
A new sewing machine needle that matches your fabric and machine
-
A small screwdriver, if your machine uses a needle clamp screw
-
Scrap fabric for testing
Step 1, Turn Off the Machine and Unplug
Always turn off and unplug your sewing machine before replacing the needle. This reduces the risk of accidental movement and keeps you safe while working.
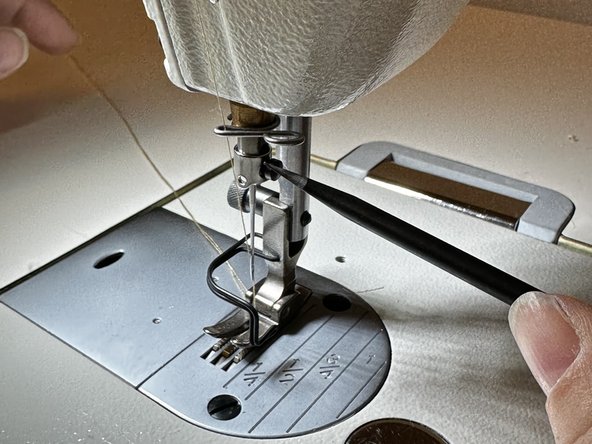
Step 2, Remove the Old Needle

-
Turn the handwheel until the needle is at its highest position
-
Loosen the needle clamp screw if your machine has one
-
Carefully pull the old needle out
Handle broken needles carefully to avoid injury.
Step 3, Prepare the New Needle

-
Check that the needle type is suitable for your machine and fabric
-
Locate the flat side of the needle, which usually faces the back of the machine
Using the correct needle ensures smoother stitching and prevents thread issues.
Step 4, Insert the New Needle
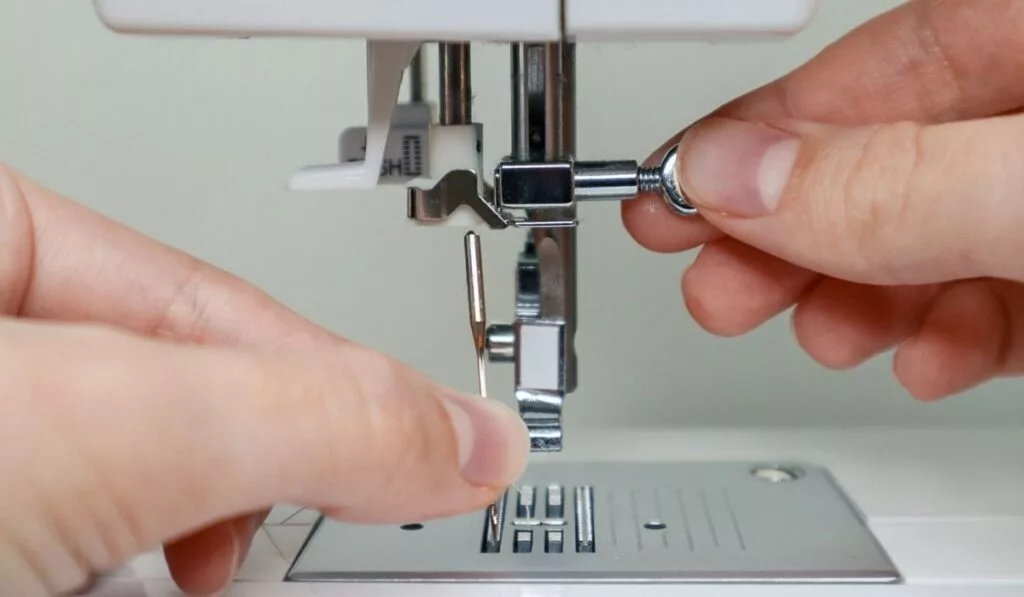
-
Push the needle into the needle holder until it stops
-
Make sure the flat side faces the correct direction
-
Tighten the needle clamp screw firmly, but do not overtighten
A properly installed needle helps maintain stitch accuracy.
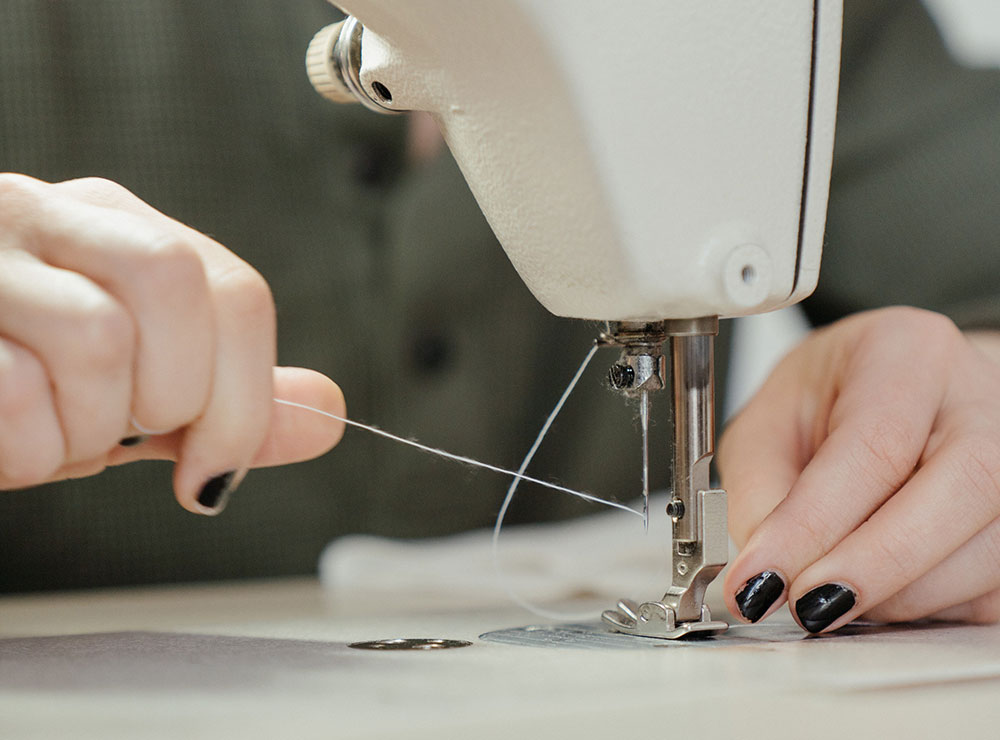
Step 5, Check Needle Alignment

-
Turn the handwheel manually to ensure the needle moves straight
-
Make sure it does not hit the presser foot or needle plate
-
Test on scrap fabric before starting your project
This step helps catch problems before sewing your actual fabric.
Step 6, Ready to Sew
If the needle moves smoothly and your test stitches look neat, your sewing machine is ready to use.
Additional Tips
-
Replace the needle every 8 to 10 hours of sewing, or sooner if it bends or breaks
-
Use needles designed for specific fabrics such as lightweight, heavy, stretch, or denim
-
Store spare needles safely so they stay clean and easy to find
Final Thoughts
A fresh needle can make a big difference in your sewing results. Regular replacement not only improves stitch quality but also protects your machine and fabric from unnecessary wear. Taking a few minutes to change a broken or dull needle can save you time, frustration, and costly mistakes during your sewing projects.


